
A refrigerator ice maker that stops working can leave you without ice when you need it most. The cause is often simple, such as a blocked water line, a switched off ice maker, or a freezer that is too warm. A few careful checks can help you find the problem before you schedule a repair.
Start by checking the ice maker settings, water supply, freezer temperature, and any visible ice blockage. If these basics look correct but your refrigerator still will not make ice, the water valve, motor, sensor, or another internal part may need attention.
Key Takeaways
- Start with the basics: confirm the ice maker is switched on, the shutoff arm or sensor is unobstructed, the water supply valve is open, and the filter and supply line allow strong water flow.
- Set the freezer to 0°F (about -18°C), keep vents clear, and check for heavy frost or a faulty door seal, since temperatures above about 15°F can stop proper ice production.
- Safely clear loose ice blockages and frozen fill-tube obstructions by hand or through natural thawing; never use sharp tools, a heat gun, or an open flame.
- If basic checks fail or you find leaks, exposed wiring, recurring fill-tube blockages, or suspected motor, valve, thermostat, or sensor problems, have a trained appliance technician test and repair the refrigerator.
Check Water Flow And Filters
Restricted water flow can stop your refrigerator ice maker even when the freezer is cold enough. Check the water supply line behind the refrigerator for kinks, crushed sections, or visible leaks. Confirm that the shutoff valve is fully open, and look for moisture around the valve and connection points. If the line is damaged or leaking, close the valve before arranging a repair.
A clogged or expired water filter can also reduce the flow needed to make ice. Check the filter indicator or replacement date, then install the correct filter for your refrigerator if needed. After replacing it, follow the manufacturer’s instructions to flush air and loose carbon from the line. A filter that is not seated correctly may restrict water, so press or twist it firmly into place.
Test the dispenser to compare its water flow with the ice maker’s performance. Weak or uneven flow may point to a blocked filter, supply line, or dispenser nozzle, while no flow can indicate a closed valve or frozen line. If the refrigerator has been set very cold, inspect the tubing inside the freezer for ice and let it thaw naturally. Do not use a heat gun or open flame. Restore normal temperature settings, then allow time for the ice maker to refill.
Verify Ice Maker Settings
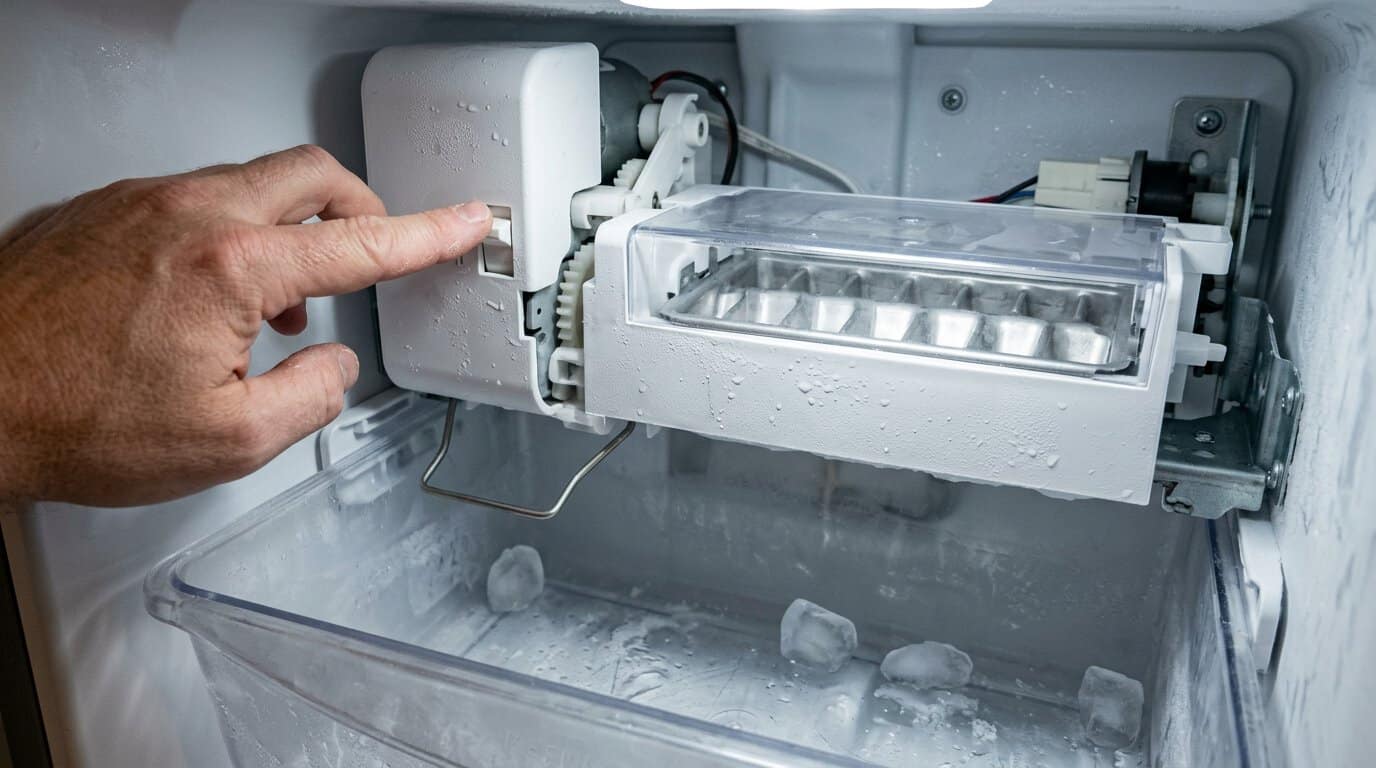
Check that your ice maker is switched on before testing other parts of the refrigerator. Depending on your model, you may use a power switch, control panel setting, or wire shutoff arm. If the arm is raised, the ice maker reads that the bin is full and stops making ice, so lower it gently into the operating position. Some models use a sensor instead of an arm, and an overfilled bin or an item blocking the sensor can prevent production. Review your refrigerator’s control settings if the ice maker still appears inactive.
Look inside the ice maker for frozen cubes, clumped ice, or pieces blocking the ejector mechanism. The ejector is the set of small fingers that moves finished cubes into the storage bin, and one oversized cube can stop the cycle. Remove loose ice with your hand, but do not use a knife or other sharp tool that could damage the mold or injure you. If ice has frozen into a solid mass, empty the bin and let it thaw naturally before replacing it. After clearing the obstruction, close the freezer door and allow several hours for the ice maker to begin producing ice.
Test Freezer Temperature And Airflow
A freezer that is too warm can keep your refrigerator ice maker from completing its cycle. Set the freezer to 0°F, or about minus 18°C, and give it several hours to reach that temperature before checking for new ice. If the temperature stays above about 15°F, water may not freeze properly, and the ice maker may pause or produce small, soft cubes. Check that food packages do not block the air vents, since those openings move cold air throughout the freezer. Avoid packing items tightly around the ice maker or along the back wall.
Excessive frost can also restrict airflow and create warm spots inside the freezer. Look for heavy frost on the back wall, around the vents, or near the ice maker, as this may point to a defrost problem that needs attention. A damaged or dirty door seal can let warm, moist air enter, which raises the temperature and encourages frost buildup. Close the door on a sheet of paper, then pull gently. If the paper slips out easily, clean or inspect the seal. Once the freezer maintains the right temperature and has clear airflow, allow a full day for ice production to resume.
Identify Failed Ice Maker Components
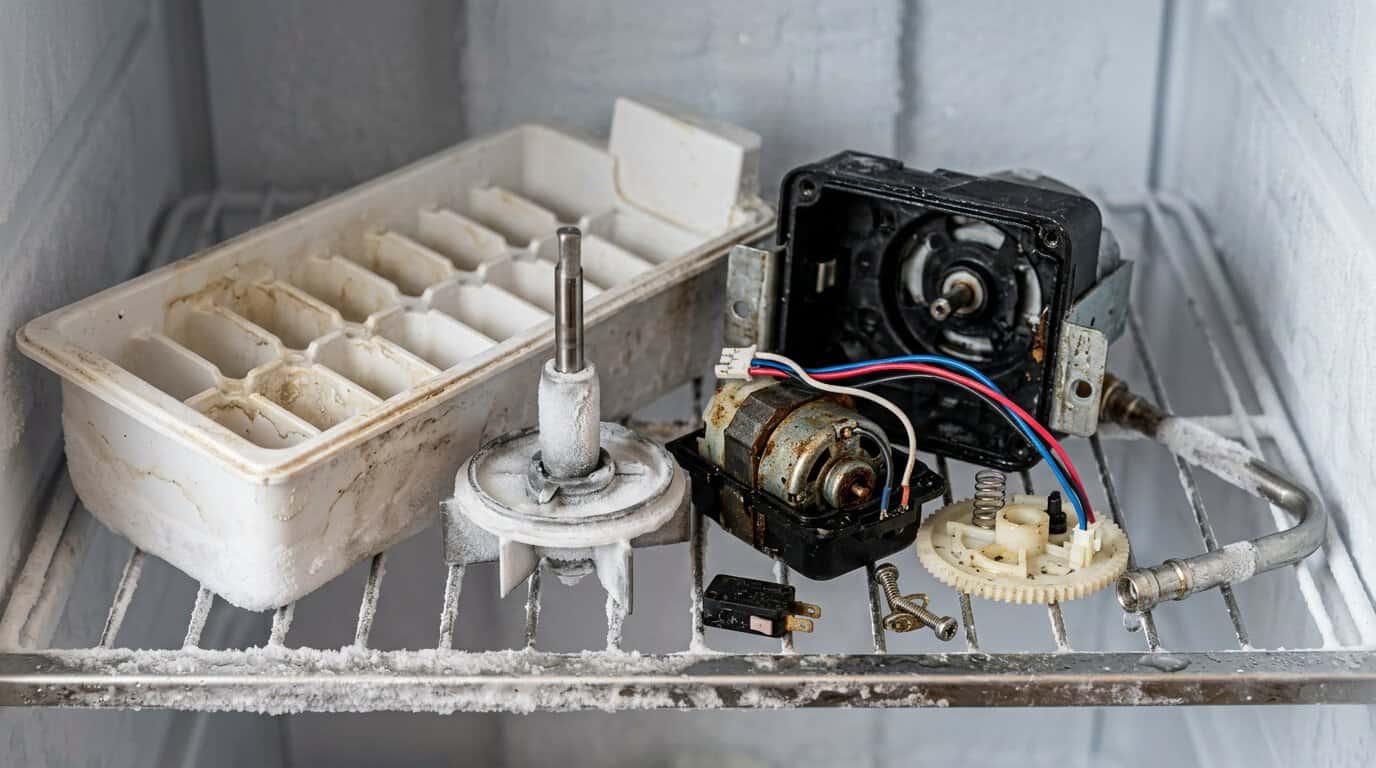
Your refrigerator ice maker may have a defective water inlet valve if the ice mold stays dry, the dispenser has weak water flow, or you hear a humming sound without water entering the mold. You can safely check that the refrigerator is connected to the water supply, the shutoff valve is open, and the water filter is installed correctly. Look for kinks in the supply line and inspect the fill tube for visible ice blocking the opening. Testing the valve for voltage or replacing it requires electrical work, so have a trained appliance technician handle those steps.
A failed ice maker motor may cause clicking, grinding, or silence during a harvest cycle. A damaged module may leave the ice maker stuck in one position or prevent it from starting. The thermostat can also fail to sense the proper freezing temperature, especially if the ice maker stops cycling even though the freezer feels cold. You can check for loose ice, broken plastic parts, or an ice bin blocking the shutoff arm, but do not remove electrical covers while the refrigerator is powered. A technician can test the motor, thermostat, and module with the correct meter and determine which part needs replacement.
A frozen or blocked fill tube often points to a valve that is not closing fully, low water pressure, or a previous fill problem. Turn off the ice maker before clearing loose frost that you can reach safely, and never use a sharp tool or direct heat near the plastic tube. If the blockage returns, the ice maker leaks, or the freezer temperature is normal but no water enters the mold, schedule a professional inspection. Component testing and replacement are best left to a trained appliance technician because the refrigerator contains live electrical parts and water connections.
Get Your Refrigerator Ice Maker Working Again
When your refrigerator ice maker is not working, follow the basic checks in order. Confirm that water reaches the refrigerator, then inspect the supply line, filter, and inlet valve for restricted flow or leaks. Next, check that the ice maker is turned on and clear away any ice blocking the mechanism. Verify that the freezer stays at the recommended temperature, since a warm freezer can stop ice production even when other functions appear normal.
If these steps do not restore ice production, a failed component may be responsible. A defective water inlet valve, ice maker motor, thermostat, or wiring connection may require testing and repair by a trained technician. Schedule professional service if your refrigerator ice maker still does not work, or if you find leaks, exposed wiring, or damaged parts. For help with appliance repairs, explore our Appliance Services to learn how we can get your refrigerator working properly again.